Kitchen Layout Ideas That Actually Work
A layout is chosen for you long before you have an opinion about it. Room width, the position of the back door, where the window falls and how many people walk through on the way to the laundry will each rule out an option. Start with those four constraints and the list of workable plans is usually two, sometimes one. Everything after that is cabinetry and finish.
Four layouts, and the room each one suits
Read each one against the plan you have, not the kitchen you saw. The note under each heading is the condition that has to be true for it to work.
Galley
Two parallel runs. It is the most efficient plan per square metre and the most sensitive to width: too narrow and two open doors meet in the middle, too wide and you are walking the length of the room for every task. It suits the long rear rooms common in Bentleigh weatherboards and semis.
L-shape
Two adjacent walls, leaving the rest of the room free for a table or a run of glazing. It is the easiest plan to open onto living space and the easiest to under-use, because the corner absorbs a cupboard unless it is drawn as a proper corner solution from the start.
U-shape
Three runs wrapping the cook. It carries the most storage and bench per floor area of any plan, but it closes the room in and needs real internal width before it stops feeling like a corridor with an end wall. Two corners means two corner decisions.
Island or peninsula
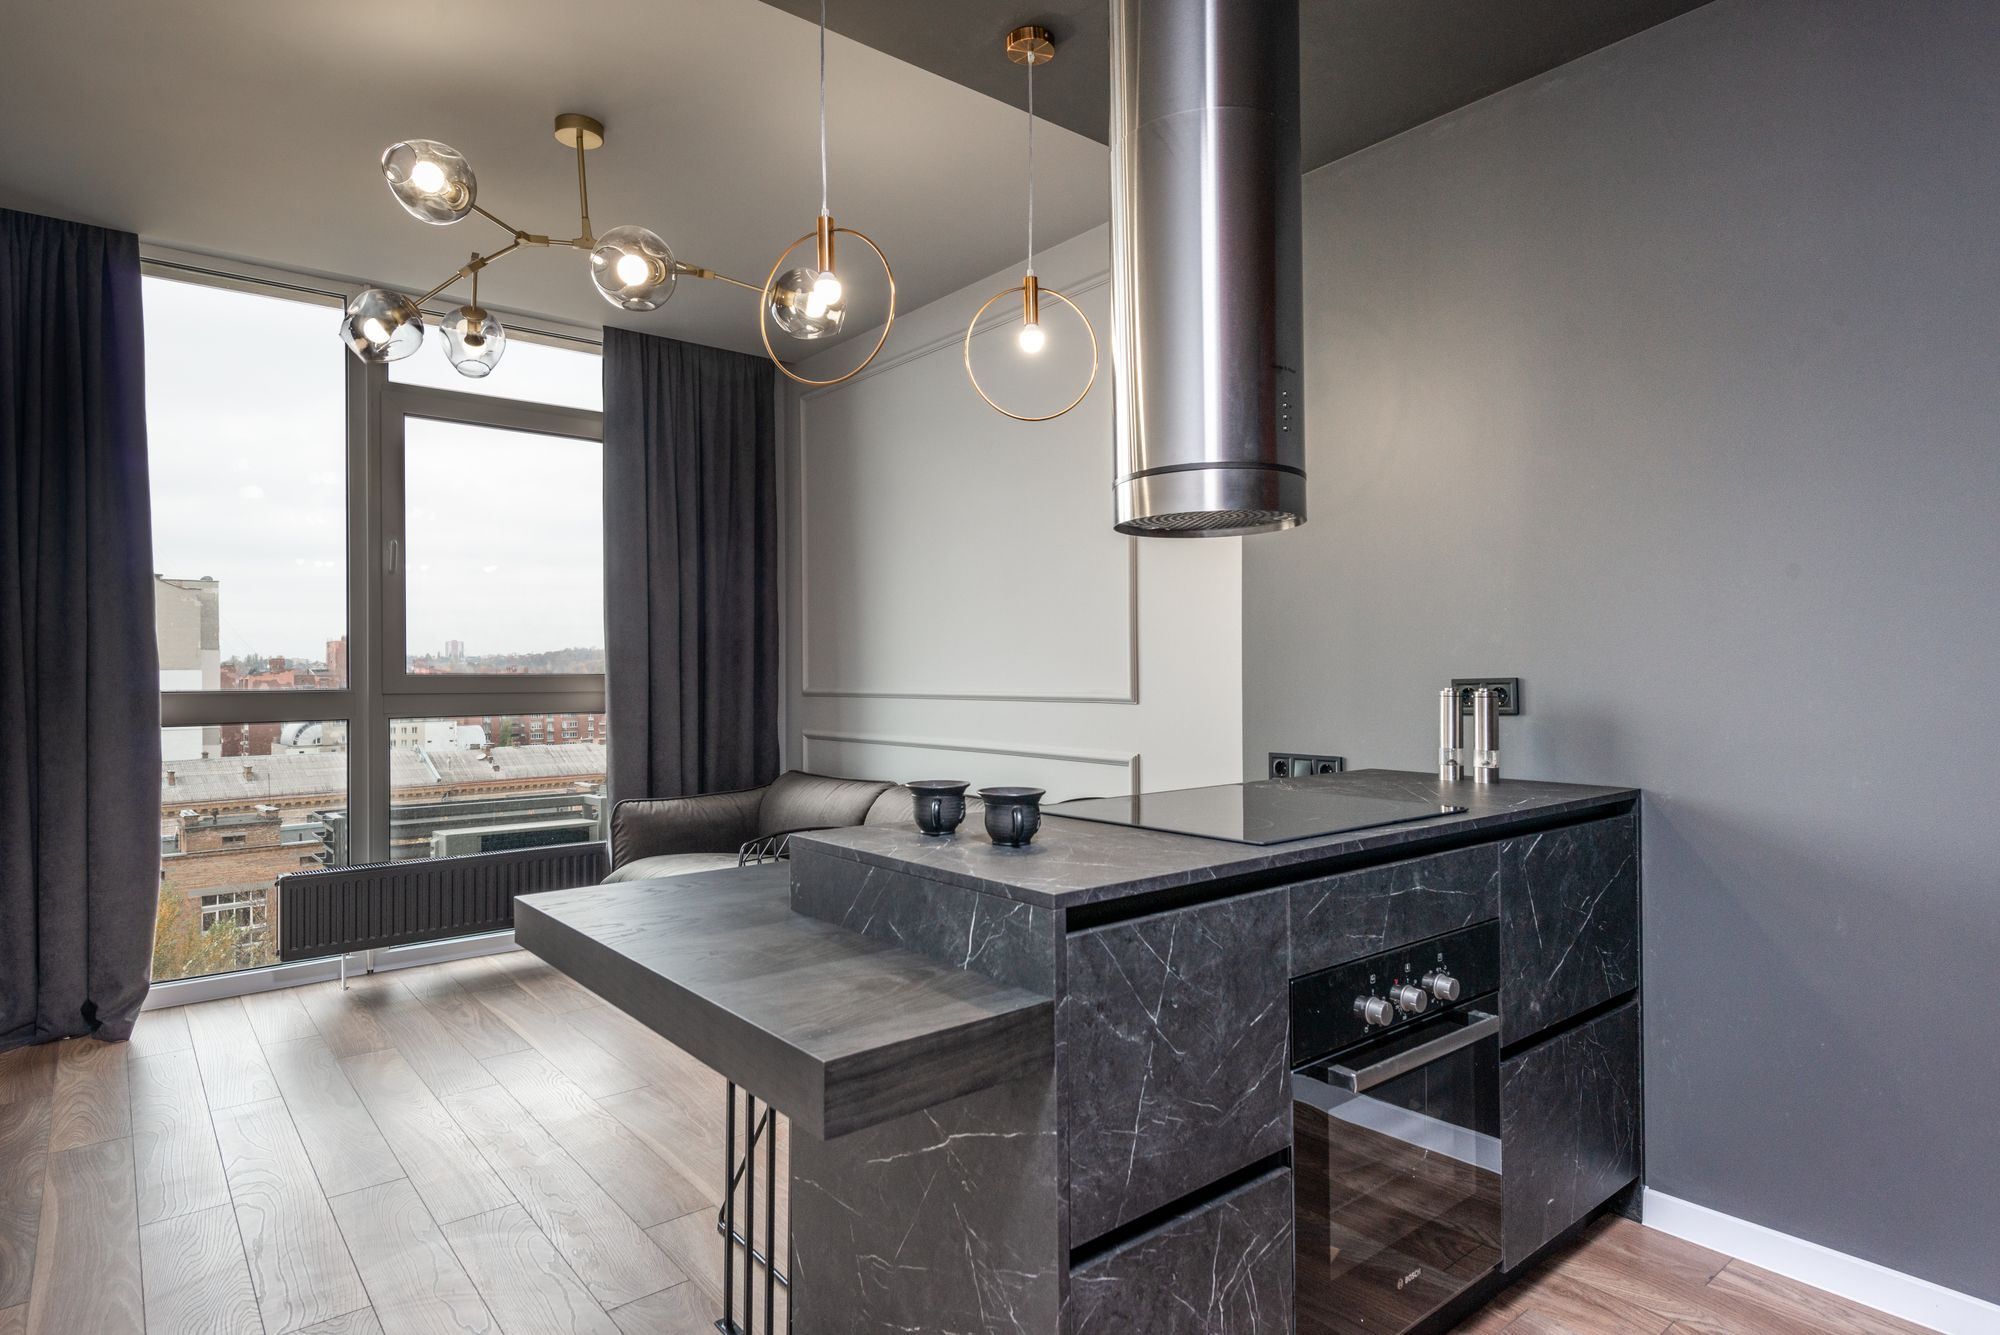
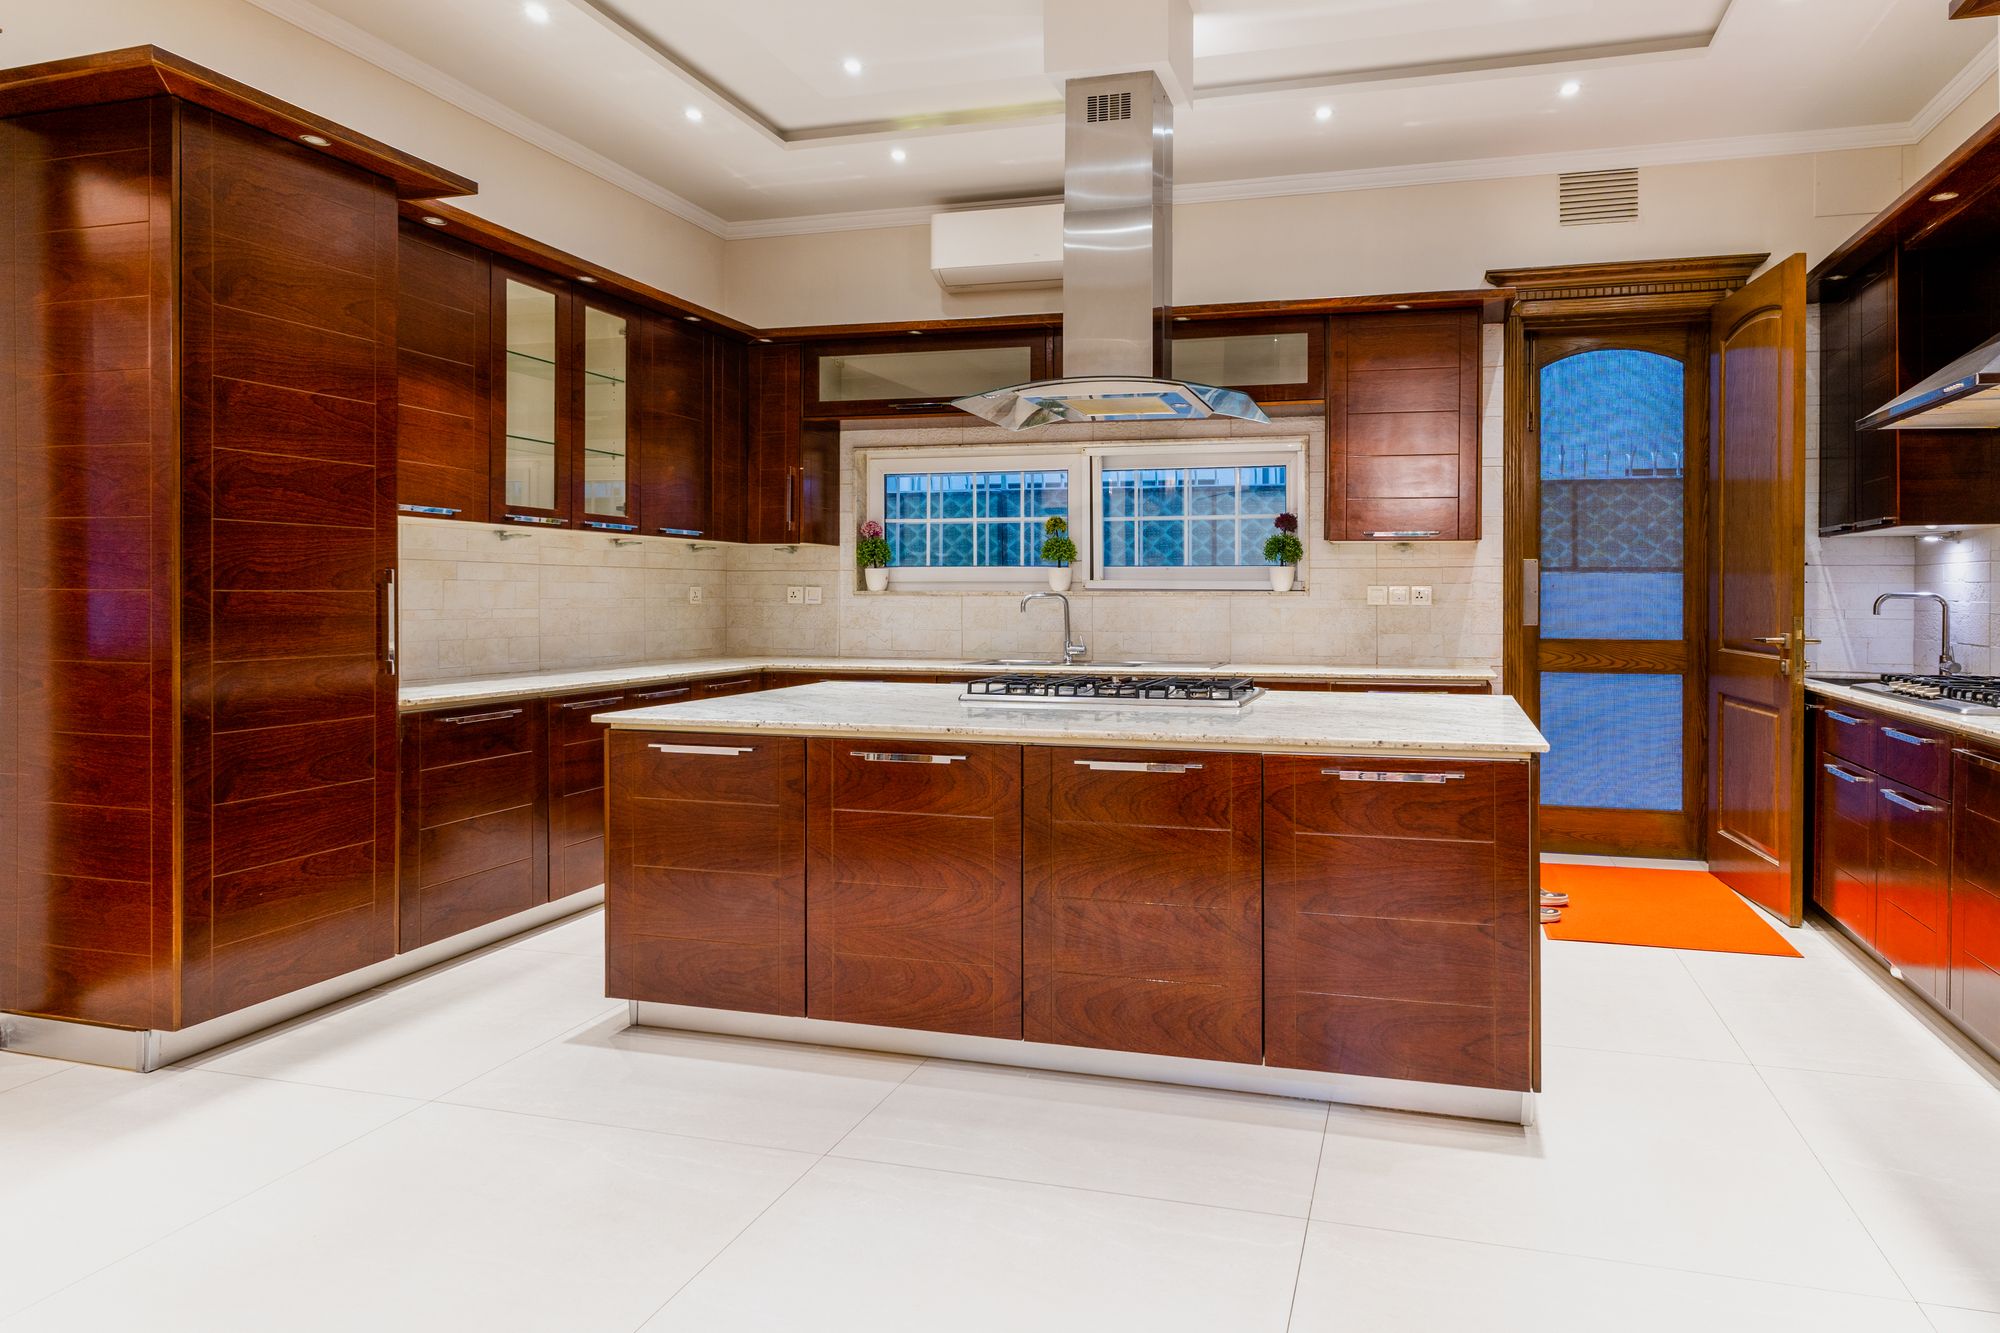
An island is a fourth run that has to be walked around on every side, so it demands more width than any other plan. Where the room is short of that, a peninsula gives you the same bench and seating off one fixed end and only two aisles to keep clear. Sinks and cooktops in an island bring services with them, which is a floor decision, not a bench decision.
The numbers that settle the argument
These are planning figures, checked against the site measure before anything is drawn. Most layout disputes end the moment they are written on the plan.
Doors, windows and the path through the room
In most older Melbourne homes the kitchen is also a corridor. People cross it to reach the back door, the laundry or the garden, and that path is fixed by the building, not the plan. Keep it running along the edge of the work zone rather than through it and a modest kitchen behaves like a larger one.
Windows decide almost as much. A window over the sink rules out overhead cabinets on that run, which has to be made up elsewhere — usually in tall storage or drawers. A second window on a side wall often makes an L-shape the only honest option. Where a door swings into the room, measure the arc before you commit a bench to that wall.
Use the triangle as a check, not a rule
The old work triangle — sink, cooktop, fridge — still catches obvious mistakes, like a fridge marooned at the far end of a galley. What it does not describe is a kitchen with two cooks, a coffee station and a dishwasher that has to be unloaded while someone else is chopping. Draw the triangle, confirm no leg is absurd, then plan in zones instead.
Turning a layout into a drawing
Once the room is measured, the workable plans reduce quickly and the conversation moves to cabinetry, benchtop and services. That documented plan is what a quote is priced from.