Kitchen Island Design Ideas
An island is a set of clearances before it is a feature
Island decisions are made in plan, not in a showroom. Before anyone chooses stone or stools, the island has to answer three questions: how far it sits from the run behind it, how much bench edge each seat needs, and how far the top can cantilever before it needs support. Settle those and the finishes become a straightforward choice.
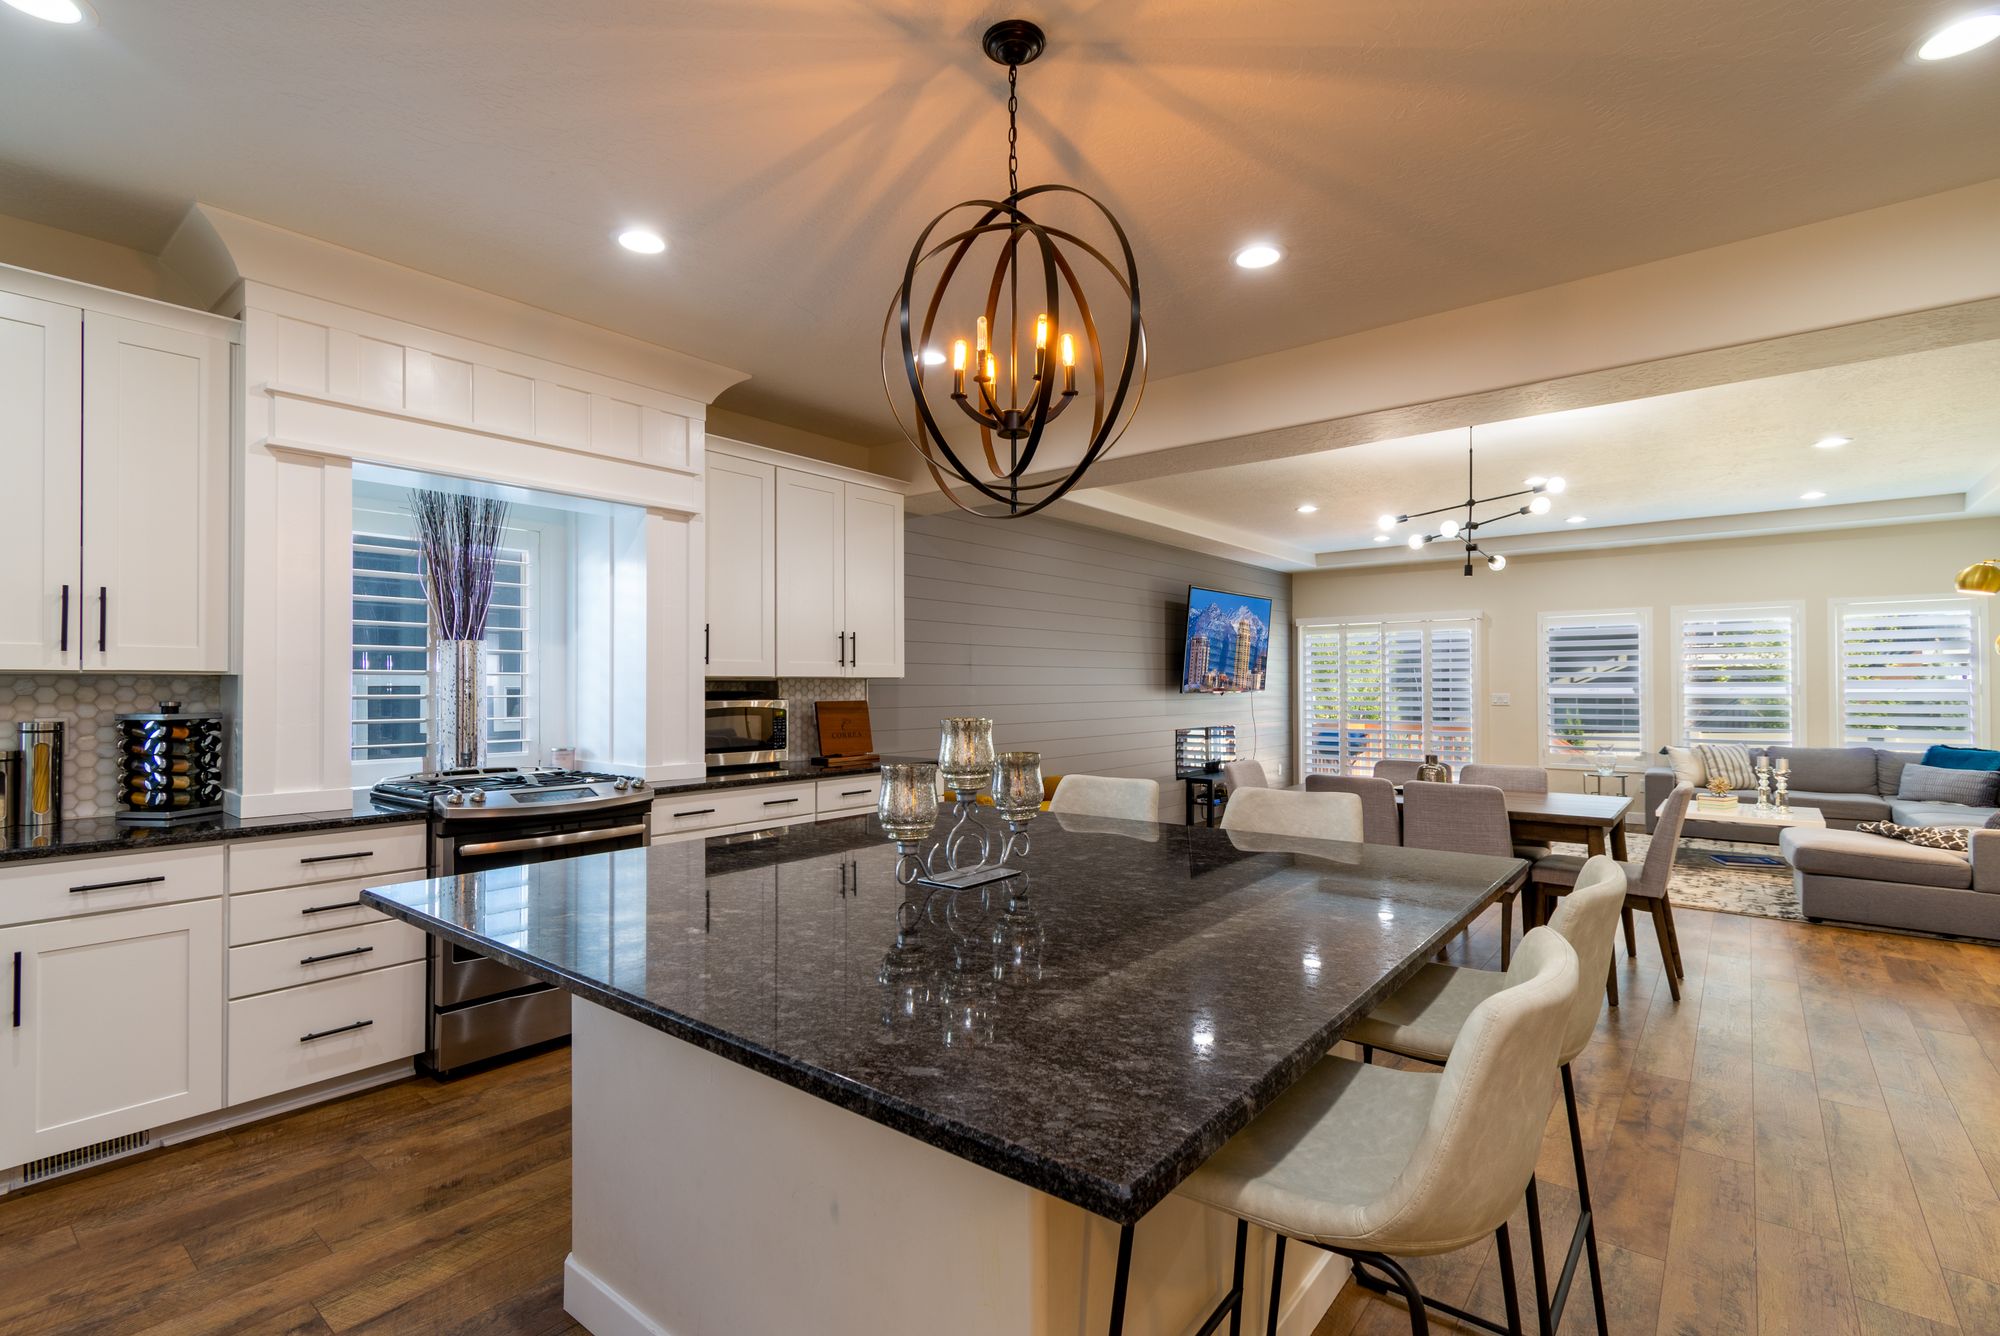
Length, seating and overhang
Seating is where most islands are over-promised. Three stools drawn on a plan often become two once the bench edge, stool width and the cook’s standing space are honest with each other. The overhang carries the same discipline: past a certain depth, stone needs steel underneath it, and that support has to be designed with the cabinetry, not added afterwards.
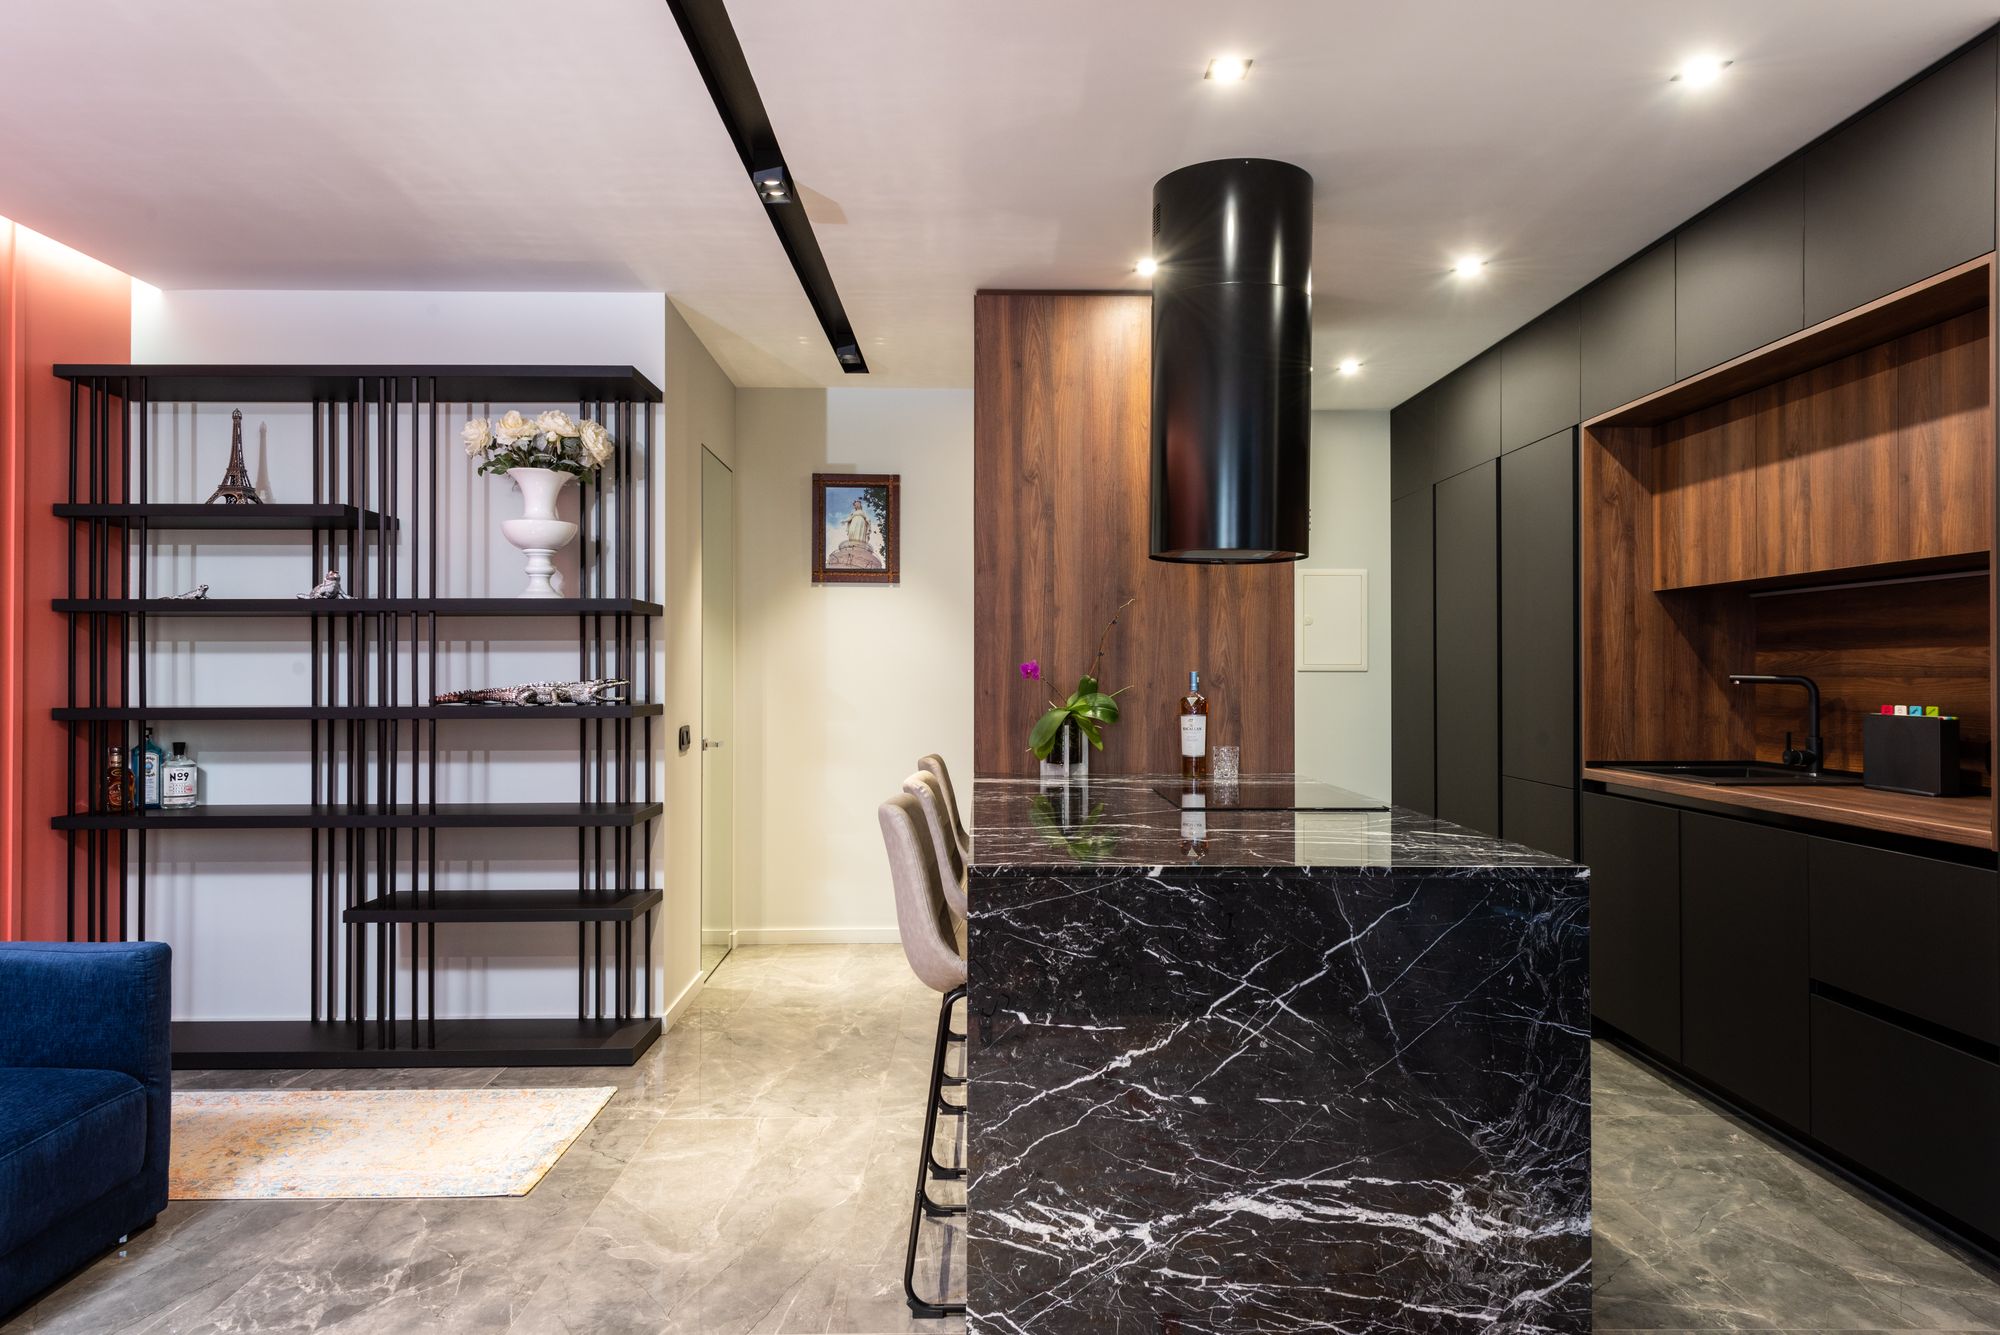
Sink, cooktop and what runs underneath
Putting a sink or cooktop in the island changes the joinery, not just the layout. Waste and water have to reach the island through the floor, power has to arrive where the plan allows, and a cooktop brings extraction into the conversation. Each one also removes storage from beneath the bench.
Storage on both faces
In practice that means deep drawers over doors on the working face: one shallow drawer for utensils, two deep ones for pots and plates, all on full-extension runners, with the bin drawer beside the sink. The seating face is usually panelled flat, or takes 150-200 mm of open shelving where the overhang allows it. The ends are the only place an island stores anything vertically – trays, boards and baking sheets on edge.
Take the numbers to a drawing
An island that works on paper works in the room. Measure the clear width on both sides, count the seats you actually need, and decide whether the sink or cooktop is moving before any material is selected.
The scope itself, from clearances to servicesKitchen Layout Ideas That Actually Work
Where an island belongs in the planCustom Kitchen Cabinetry, Made to Measure
Carcass, drawers and non-standard dimensionsChoosing a Kitchen Benchtop
Thickness, edge profile and join positions